Store Estates
A retailer can display their store estate within the Checkout as a Click and Collect location. Once created, the store estate is available for use as a service in the delivery options tab under the service type list as My Store Estate.
Adding a Store manually
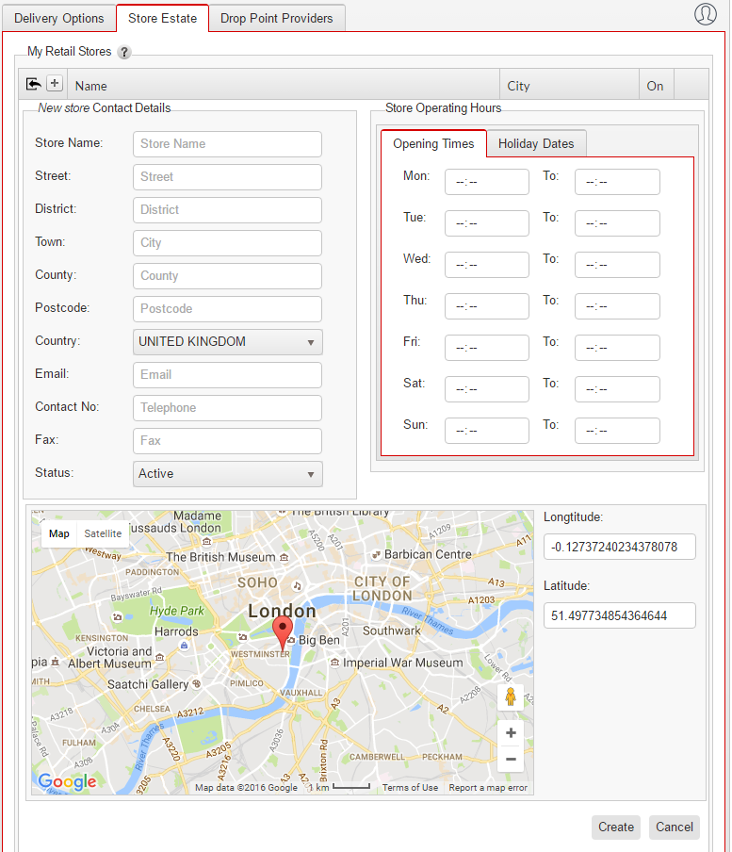
To add a new Store, go to the Store Estate tab and click the + button at the top of the page. This will display the data entry form where the address, opening times and holiday dates can be entered. A map showing the location of the Store is also displayed and the exact location can be fine-tuned using the pin marker on the map.
The opening times are mostly for information purposes to assist the consumer to select the most appropriate option. There is one exception, when a store opening time is left empty or has anything else other than a valid time value, then the system will treat the store as closed and will not present it as a delivery option.
The system will also treat the store as closed if the status is set to disabled.
Holiday dates do not need to be entered here if they are the same as the default global settings. Please see 6.4 Holiday Dates for information.
If holiday dates are entered for a store, they will take precedence over any dates entered at the global level. This way a store can be closed on additional days whilst the global holiday dates are applied across the entire store estate.
The image below shows the online form for adding a store manually.
Importing Stores using a CSV file
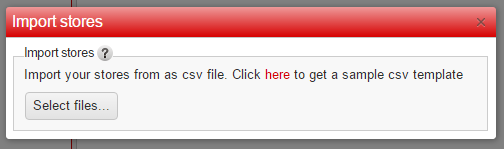
You can import multiple stores through a CSV file in a predetermined format, a line with header names is required. To access this function, click the Select files button and the import form will be presented.
Longitude valid values are from -180 to 180, Latitude valid values are from -90 to 90, however, both can be left blank. Any Store opening / closing times can be left empty and the system will default to ‘Closed’. The Status may either be ‘Active’ or ‘Disabled’, this allows for new stores to be prepared or certain stores temporarily closed. Lines starting with // will be ignored.
Available fields are listed below; mandatory fields are marked with an *:
- Store Name*
- Street*
- District
- City*
- County*
- Country Code*
- Status
- Postcode*
- Telephone*
- Fax
- Email*
- Longitude
- Latitude
- Monday Opening Time
- Tuesday Opening Time
- Wednesday Opening Time
- Thursday Opening Time
- Friday Opening Time
- Saturday Opening Time
- Sunday Opening Time
- Monday Closing Time
- Tuesday Closing Time
- Wednesday Closing Time
- Thursday Closing Time
- Friday Closing Time
- Saturday Closing Time
- Sunday Closing Time
- Holiday (The Holiday can be repeated many times and can be in format of a single day in the date format YYYY/MM/DD or a date range separated by a “–“ e.g. 2015/05/01 – 2015/05/10)
Editing an existing Store
Once stores have been entered manually or imported they can still be edited at any time. To view or edit a store, click on the appropriate store in the Store Estate tab. The full details of the store will be displayed and any amendments can be made directly on the form. To save the changes click the Update button.
Deleting a Store
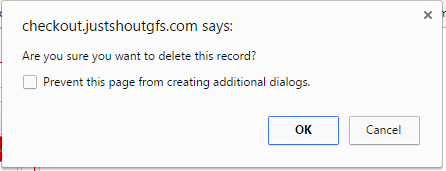
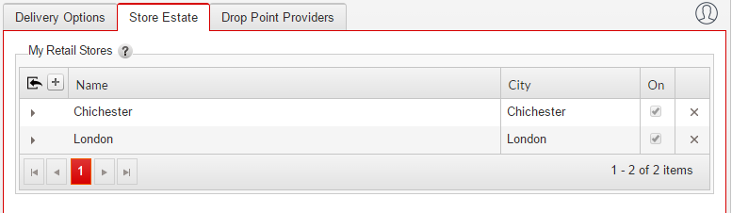
To delete a store, find the appropriate store in the My Retail Stores tab and click on the X to the right hand side of the entry. A prompt will appear asking for confirmation that the record is to be deleted.
Stores can be disabled if they are not required for a short period, i.e. store refurbishment, this will save the store details for future use.